How do I add a receipt with the Enter Expense feature?
With Falcon Expenses there are two ways to add receipt images to your expenses list. One way is via the “Scan Receipt” feature, which is a premium feature that alleviates the user of having to enter the Merchant Name, Amount and Date, as we enter it for them. This is a premium service that Falcon Expenses charges for. For more information on how to use the “Scan Receipt” feature, please see the following FAQ: How do I scan a receipt? http://support.falconexpenses.com/faq/how-do-i-scan-a-receipt/
The second method is via the “Enter Expense” feature; this is a more “do it yourself” way of adding receipt images with their data. Below are the instructions on how to do this:
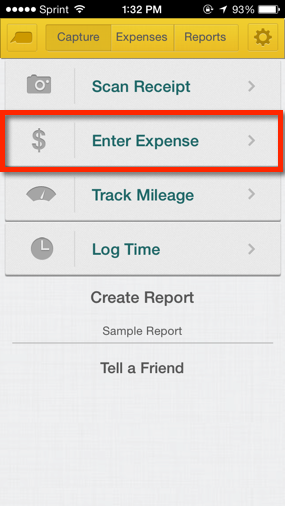
1. Tap on the Enter Expense button from the capture screen.
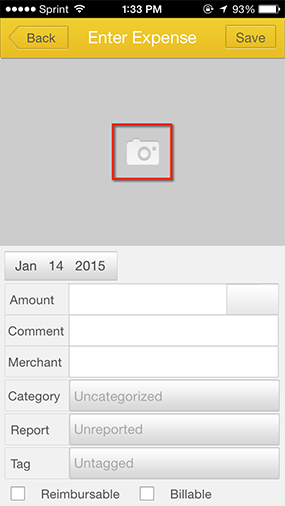
2. Tap on the camera icon that is in the top half of the screen.
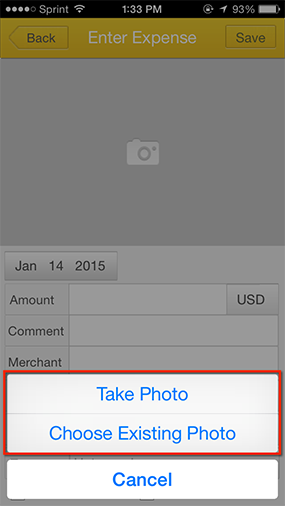
3. Choose whether you want to use an existing image or take a new photo.